Ever thought about letting your little Raspberry Pi reach out and connect with the wider world, beyond just your home network? It's a pretty cool idea, really. Imagine being able to check in on your Pi from anywhere, or maybe even hosting something special right from that tiny computer. Getting your Raspberry Pi a public address, a unique internet spot, is a big step toward making those kinds of things happen. It means giving it a direct way to be found by others online, sort of like giving your house a proper street address so people can visit.
For many of us, our devices, including a Raspberry Pi, usually live behind a router, using what's called a private address. This works perfectly fine for everyday tasks within your home, like streaming videos or sharing files with other gadgets in the same space. However, if you're looking to let something outside your home network talk directly to your Pi, that private address just won't do the trick. You see, it's like having an internal extension number at an office; it works great inside, but you need a main public line for external calls. This is where the idea of giving your Raspberry Pi a public internet address comes into play, making it visible and accessible from anywhere with an internet connection, which is pretty neat.
When we talk about giving a public internet address to your Raspberry Pi, we're essentially talking about setting things up so it has its own distinct online identity. This isn't just about making it reachable; it's about making it a proper participant on the global network. It involves a few steps to make sure your router knows where to send incoming requests meant for your Pi, and that your Pi is ready to receive them. It's a bit like telling the post office exactly which room in your building a letter should go to, even if the building itself only has one main street number. So, in a way, you're making sure your Pi gets its very own designated spot on the internet's grand map, which is actually quite empowering for such a small device.
Table of Contents
- What Is a Public Internet Address, and Why Would Your Raspberry Pi Need One?
- How Do You Give Your Raspberry Pi a Public Internet Address?
- What About a Changing Public Internet Address for Your Raspberry Pi?
- Are There Any Things to Think About When You Assign a Public IP to Raspberry Pi?
What Is a Public Internet Address, and Why Would Your Raspberry Pi Need One?
Think of the internet as a massive collection of roads and highways. Every single device connected to it needs an address, a unique number, to send and receive information. This is what we call an Internet Protocol address, or IP address for short. Now, there are two main kinds of these addresses: private and public. Your home network, the one your Wi-Fi router manages, uses private addresses for all the devices inside it, like your phone, laptop, and yes, your Raspberry Pi. These private addresses, like 192.168.1.100, are only useful within your own little network bubble. They're not seen by the outside world, which is, you know, usually a good thing for security. So, in a way, your router acts like a doorman, letting things in and out but keeping the internal layout private.
A public internet address, on the other hand, is the address your entire home network presents to the outside internet. It's the one unique number that identifies your router, and by extension, everything behind it, to the rest of the world. Your Internet Service Provider, or ISP, gives this address to your router. If you want a device, say your Raspberry Pi, to be directly reachable from anywhere on the internet, it needs to be associated with that public address in a special way. This means you're essentially giving your Pi a direct line, a designated path, from the outside world straight to it, rather than just relying on the general home address. This is why you might want to assign a public IP to Raspberry Pi, to give it that direct, dedicated connection.
Why would your Raspberry Pi want such a special arrangement? Well, there are lots of cool things you can do. Maybe you want to set up a small website or a blog that's hosted directly on your Pi. Perhaps you're thinking of building a personal cloud storage system, so you can access your files from work or on vacation. Some folks use their Pi for remote monitoring, like a home security camera feed they can check from their phone. Others might want to host a small game server for friends. All these activities require your Pi to be visible and directly reachable from beyond your home network. Giving it a public internet address, or at least making it appear as if it has one, is the key to making these projects work. It's about giving your little computer a big voice on the internet, which is pretty exciting, actually.
Distinguishing Private from Public Addresses for Your Raspberry Pi
Let's take a moment to really get a handle on the difference between these two types of addresses, especially as it relates to your Raspberry Pi. Imagine your home is an apartment building. Each apartment, like your Raspberry Pi, has an internal number, say "Apartment 3B." That's its private address. Someone inside the building can easily find "Apartment 3B." But if someone from outside the building wants to send a letter to "Apartment 3B," they don't use that internal number. They use the building's main street address. That main street address is like your public internet address. Your router is the front desk of the building, receiving all mail for the main address. It then needs to know which internal apartment to send it to. So, when you're thinking about how to assign public IP to Raspberry Pi, you're essentially teaching your router how to be a very smart front desk manager, making sure the right external mail gets to the right internal apartment, which is your Pi.
Your Raspberry Pi, when it's just sitting on your home network, only knows its private address. It uses this to talk to your phone, your laptop, or other devices connected to the same Wi-Fi. It doesn't really "see" the public internet address directly. Instead, your router handles all the translation. When your Pi wants to send something out to the internet, it sends it to the router. The router then sends it out using its public address. When something from the internet wants to reach your Pi, it first hits your router's public address. Without special instructions, the router won't know which specific device inside your network that incoming message is for. This is why the process of assigning a public IP to Raspberry Pi, or rather, making it accessible via your public IP, is all about setting up those special instructions for your router. It's about giving your Pi a dedicated pathway through the router, so it can communicate directly with the outside world, which is a fairly straightforward concept once you grasp it.
How Do You Give Your Raspberry Pi a Public Internet Address?
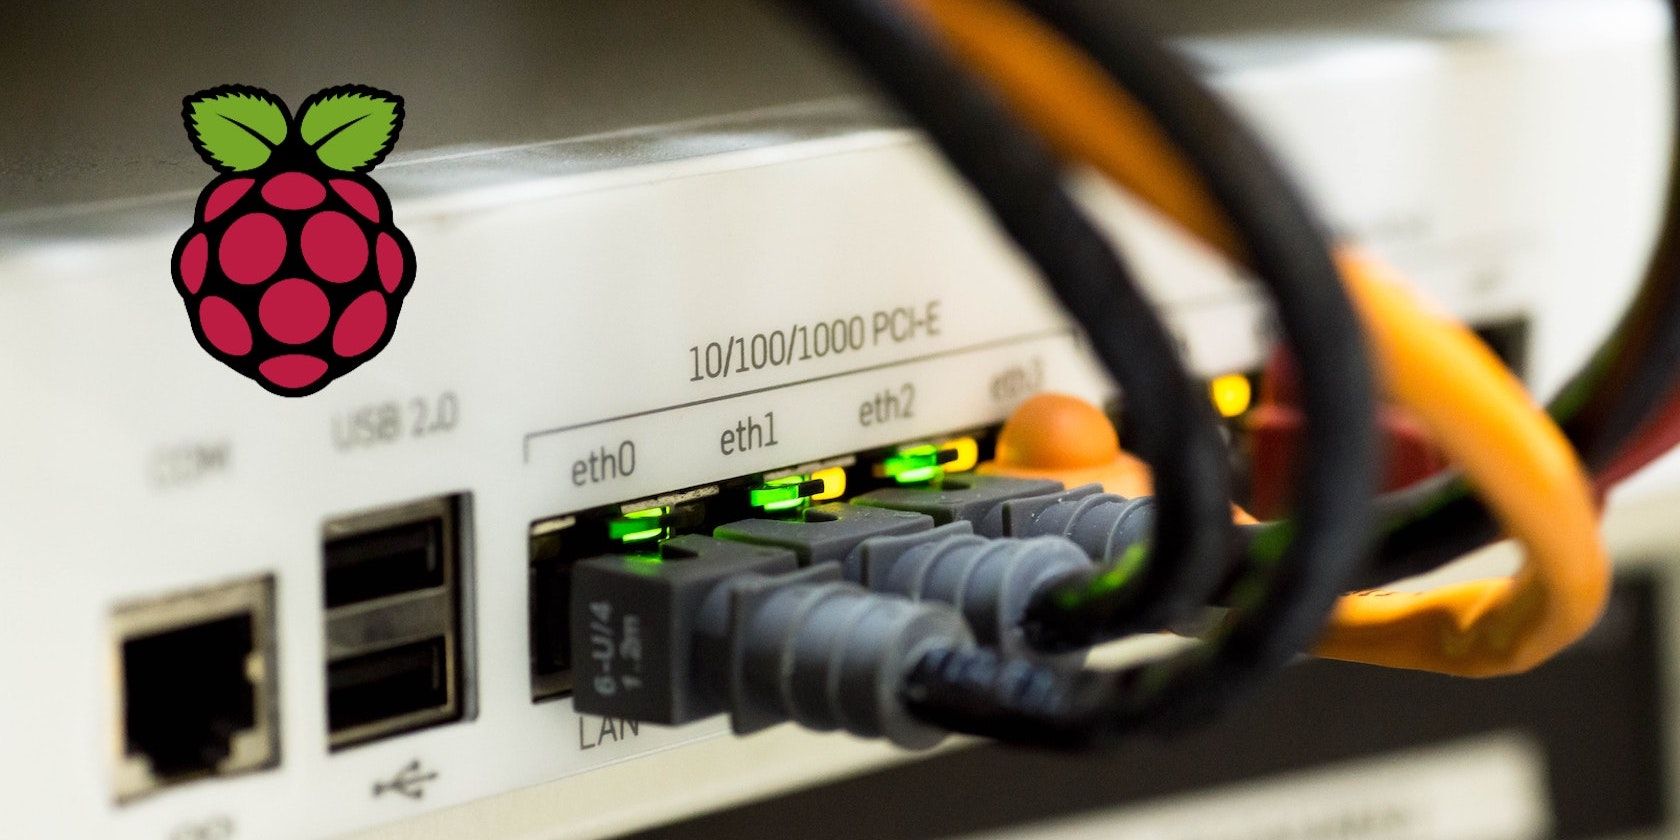
The truth is, you don't actually give your Raspberry Pi its *own* public internet address in the same way your router has one. Your ISP gives your router a single public address. What you do instead is tell your router to forward specific types of incoming internet traffic directly to your Raspberry Pi's private address. This is often called "port forwarding." Think of it this way: if your public internet address is the main street number for your house, and your Raspberry Pi is a specific room inside, port forwarding is like putting a sign on the front door that says, "If you're looking for the web server, go directly to the room with the Pi." It's a way of designating a particular purpose for a part of your public internet presence, which is quite useful. So, to assign public IP to Raspberry Pi, you're really configuring your router to act as a very precise guide.
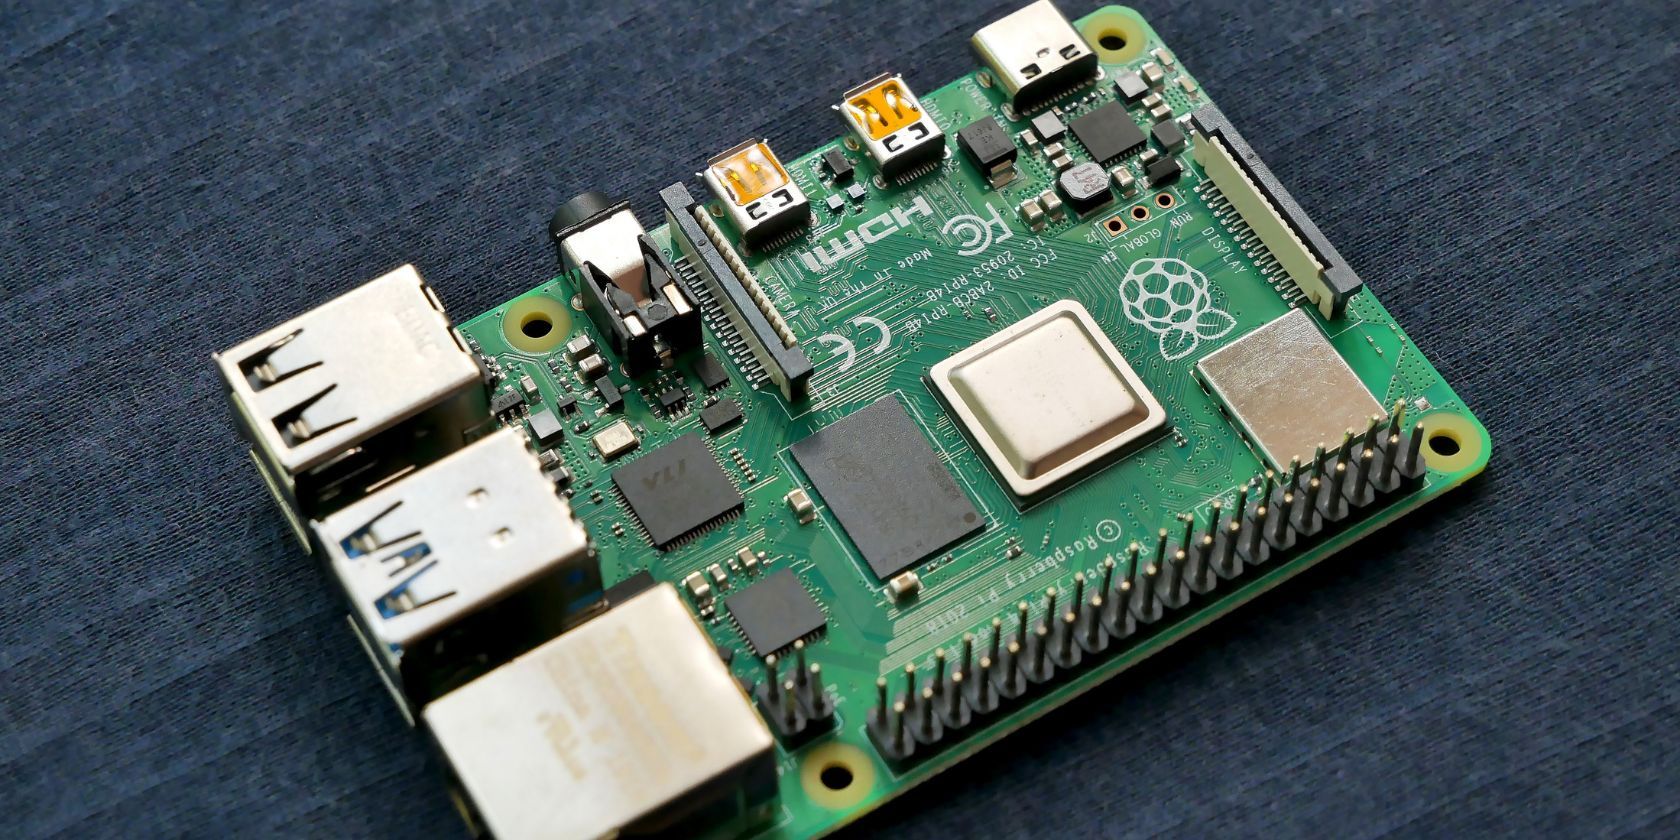
The first step in this process is to make sure your Raspberry Pi has a static private IP address. This means its internal address, like 192.168.1.150, never changes. If it keeps changing, your port forwarding rules will break, and your Pi won't be reachable. You can usually set this up in your router's settings, or directly on the Raspberry Pi itself. After that, you'll log into your router's administration page, usually by typing an address like 192.168.1.1 into your web browser. Every router is a little different, but you'll look for a section related to "Port Forwarding," "Virtual Servers," or "NAT Settings." Here, you'll create a new rule. This rule will say something like: "Any traffic coming in on public port 80 (the standard web port) should be sent to private IP address 192.168.1.150 on private port 80." This essentially gives your Pi a direct line for web traffic, which is pretty cool.
It's important to choose the right ports. Common services use specific port numbers. For a web server, it's typically port 80 for regular web traffic and 443 for secure web traffic (HTTPS). If you're running a different service, like an SSH server for remote access, that usually uses port 22. You'll need to know which port your Pi's service is listening on. You can also choose a different external port than the internal one for a bit of added security through obscurity. For example, you could forward public port 8080 to your Pi's private port 80. This means people outside would connect to your public IP address on port 8080, and your router would then send that traffic to your Pi on port 80. This is a common practice when you want to assign public IP to Raspberry Pi without exposing standard ports directly, which is a pretty smart move for security.
Getting Your Router to Point to Your Raspberry Pi
To really make your router point traffic directly to your Raspberry Pi, you need to be precise. Think of it like setting up a specific delivery instruction for a package. You're not just saying "deliver to my house"; you're saying "deliver this package, specifically, to the person in the third room on the right, and make sure it's the package labeled 'server data'." This level of detail is what port forwarding achieves. You'll specify the external port (what the internet sees), the internal port (what your Pi expects), and your Raspberry Pi's static private IP address. Some routers also let you specify the protocol, like TCP or UDP, which is a bit more technical but generally, you'll choose "Both" or "TCP" for most common services like web servers or SSH. So, to assign public IP to Raspberry Pi, you're essentially drawing a very clear line from the internet's edge right to your Pi's doorstep, which is a rather direct way of doing things.
When you're configuring these settings, it's almost always a good idea to restart your router after saving the changes. This helps ensure that the new rules are properly loaded and active. Sometimes, without a restart, the router might not immediately apply the new port forwarding instructions. Also, after you've set everything up, you'll want to test it. The easiest way to do this is to try accessing your service from a network outside your home, like using your phone's mobile data connection instead of your home Wi-Fi. You'd type your home's public IP address (which you can find by searching "what is my IP" on Google) followed by a colon and the public port number you forwarded (e.g., `http://your.public.ip.address:80`). If it works, you've successfully managed to assign public IP to Raspberry Pi, or at least made it accessible via your public IP, which is a great feeling of accomplishment.
What About a Changing Public Internet Address for Your Raspberry Pi?
Here's a common situation: most home internet connections use what's called a dynamic public IP address. This means your ISP can, and often does, change your public IP address from time to time. It might change when your router restarts, or even just periodically. If your public IP address changes, then the address you've been using to access your Raspberry Pi from outside your home will no longer work. It's like your apartment building suddenly getting a new street address without anyone telling you. This can be a bit frustrating if you're trying to keep a service running consistently. So, to really assign public IP to Raspberry Pi in a stable way, you need a solution for this changing address problem, which is a fairly common challenge for home users.
This is where Dynamic DNS, or DDNS, comes in handy. DDNS services provide a way to link a memorable domain name (like `mycoolpi.ddns.net`) to your ever-changing public IP address. How it works is pretty clever: you sign up for a DDNS service, and then you install a small client program on your Raspberry Pi (or sometimes your router has built-in DDNS support). This client program constantly monitors your home's public IP address. Whenever it detects that your public IP has changed, it automatically updates the DDNS service with your new address. So, when you try to access `mycoolpi.ddns.net`, the DDNS service looks up the most current IP address associated with that name and directs you there. This means you don't have to worry about your public IP changing; you just use your chosen domain name, which is very convenient.
Using a DDNS service is almost essential if you want reliable remote access to your Raspberry Pi without constantly checking your public IP. It keeps your connection consistent, no matter what your ISP decides to do with your address. There are many free and paid DDNS providers out there, so you can pick one that suits your needs. Setting it up usually involves creating an account, choosing a hostname, and then configuring either your router or your Raspberry Pi to update that hostname. This step truly solidifies your ability to assign public IP to Raspberry Pi in a practical, long-term sense, ensuring your projects remain accessible, which is a pretty big deal for continuous operation.
Keeping Your Raspberry Pi's Public Internet Address Consistent
Maintaining a consistent way to reach your Raspberry Pi from anywhere really hinges on that DDNS setup. Without it, you'd constantly be playing a guessing game, trying to figure out your current public IP address every time you wanted to connect. Imagine trying to give directions to your house, but the street number changes every few days. It would be a nightmare! DDNS takes that headache away by providing a stable, unchanging name that always points to your current location on the internet. It's like having a permanent redirect service for your internet address, which is very helpful for any kind of server you want to run from home. So, when you assign public IP to Raspberry Pi, DDNS is the glue that makes it truly usable for remote access.
The DDNS client, whether it's on your router or your Pi, typically runs in the background, quietly doing its job. It's a small piece of software that performs a vital function, ensuring that your chosen hostname always resolves to the correct public IP. This means you can share your DDNS hostname with friends if you're hosting a game, or simply bookmark it in your browser for quick access to your personal web server. It simplifies the whole process of connecting to your home network from afar. It's a key part of making your Raspberry Pi a truly accessible internet device, which is a pretty powerful capability for such a modest piece of hardware. It really helps keep things smooth and predictable.
Are There Any Things to Think About When You Assign a Public IP to Raspberry Pi?
Giving your Raspberry Pi a public internet presence, while opening up many possibilities, also introduces some important considerations, especially regarding security. When your Pi is directly reachable from the internet, it becomes a potential target for unwanted attention. Think of it like opening a window in your house that was previously sealed shut. While it lets in fresh air, it also provides an entry point. So, when you decide to assign public IP to Raspberry Pi, you're taking on the responsibility of securing that new entry point. It's something you really need to be mindful of, for sure.
One of the most important things you can do is to make sure your Raspberry Pi's software is always up to date. This includes the operating system (Raspberry Pi OS) and any applications you're running. Software updates often include security fixes that patch vulnerabilities. Running outdated software is like leaving a door unlocked; it makes it easier for others to get in. Also, change the default password for the 'pi' user immediately, or even better, create a new user account and disable the 'pi' user entirely. Strong, unique passwords are your first line of defense. It's a basic but absolutely vital step when you assign public IP to Raspberry Pi, ensuring that only you have the keys to your digital kingdom.
Another crucial step is to configure a firewall on your Raspberry Pi. The built-in firewall, `ufw` (Uncomplicated Firewall), is a great tool for this. You can set it up to only allow connections on the specific ports you need open, like port 80 for your web server or port 22 for SSH. All other ports should be blocked. This minimizes the attack surface, meaning there are fewer ways for someone to try to get in. It's like having a bouncer at a club, only letting in people who are on the guest list. This selective access is a smart move for any device exposed to the internet. So, when you assign public IP to Raspberry Pi, think about the firewall as your digital security guard, which is a pretty accurate way to describe its function.
You might also consider using SSH keys instead of passwords for remote access via SSH. SSH keys are much more secure than passwords and are far less susceptible to brute-force attacks. It involves generating a pair of cryptographic keys, keeping one private key on your local computer and placing the public key on your Raspberry Pi. This way, only someone with the correct private key can log in, making unauthorized access extremely difficult. This is a more advanced but highly recommended security measure. When you assign public IP to Raspberry Pi, especially for remote administration, implementing SSH keys adds a significant layer of protection, which is very reassuring for your peace of mind.
Related Resources:
Detail Author:
- Name : Lexie Stanton IV
- Username : ilueilwitz
- Email : elian.turner@yahoo.com
- Birthdate : 1993-05-25
- Address : 52940 Linnea Keys Geoborough, NY 26263
- Phone : +13309709901
- Company : Cole Inc
- Job : File Clerk
- Bio : Est ut temporibus commodi sed distinctio sit. Iure in sunt eligendi cum. Ipsa pariatur architecto illum eius necessitatibus.
Socials
instagram:
- url : https://instagram.com/zframi
- username : zframi
- bio : Quisquam veritatis excepturi pariatur accusamus. Doloribus ut reprehenderit quod qui quae eos.
- followers : 921
- following : 2552
tiktok:
- url : https://tiktok.com/@zoe_frami
- username : zoe_frami
- bio : Tempora veniam nisi neque possimus id totam reiciendis.
- followers : 1158
- following : 2543
linkedin:
- url : https://linkedin.com/in/zoe.frami
- username : zoe.frami
- bio : Aut in consequatur quisquam.
- followers : 999
- following : 2653
