Have you ever thought about checking in on your smart gadgets or tiny computers when you are not right there with them? Many people have small devices, perhaps a Raspberry Pi, doing important jobs far away, and it's quite a common wish to see what they are up to. Keeping tabs on these little machines, which are often part of a bigger internet of things (IoT) setup, can feel a bit like trying to watch something from a distance. It's about getting information from them, making sure they are working, and even giving them instructions, all without being in the same room, so you know, it's a handy thing.
This kind of watching over things from afar, or "remote IoT monitoring," is becoming more and more popular. It helps you keep an eye on everything from weather stations in your garden to security cameras at a vacation spot. The good news is that getting this kind of connection set up, especially for something like a Raspberry Pi, doesn't have to be a big headache. There are some very straightforward ways to make it happen, and many of the tools you need are available without any cost at all, which is pretty neat.
We will talk about how you can use simple methods, like a secure way of connecting called SSH, to link up with your Raspberry Pi. We will also cover how to get the right programs onto your everyday computer, whether it runs Ubuntu, macOS, or another system. This guide aims to show you how to get your own remote monitoring going, helping you feel more in control of your small devices, you know, wherever they are.
Table of Contents
- Why Keep an Eye on Your Remote IoT Setup?
- Getting Started with Remote IoT Monitoring
- How Does SSH Help with Raspberry Pi Access?
- Downloading SSH Tools for Your Computer
- Can You Use Raspberry Pi for IoT Projects?
- Setting Up Your Raspberry Pi with Ubuntu or Other Systems
- Is Remote Monitoring Free for Everyone?
- Making Remote Monitoring Happen on Mac and Other Computers
Why Keep an Eye on Your Remote IoT Setup?
Having devices that talk to each other over the internet, often called IoT gadgets, is quite common these days. These little machines might be doing all sorts of things, like checking the temperature in a faraway greenhouse or telling you if your pet feeder is empty. It's pretty helpful to know if they are doing their job right, even when you are not physically nearby. This is where the idea of remote IoT monitoring comes into play, so it's a very practical thing.
You see, without a way to check on them, you might not know if a device has stopped working or if it needs a little nudge to get back on track. Imagine a sensor that measures soil moisture for your plants; if it stops sending data, your plants might get too dry without you realizing it. Keeping a watchful eye from a distance means you can react quickly to any problems, which is actually quite reassuring.
Also, checking in remotely helps you gather information over time. You might want to see how the light levels change throughout the day in a certain spot, or how often a door opens and closes. This kind of data collection is much easier when you can simply log in from your computer, wherever you are, rather than having to go to the device each time. It just makes things simpler, you know.
Getting Started with Remote IoT Monitoring
To begin watching your IoT devices from afar, you first need a way for your main computer to talk to the smaller device. This usually involves setting up a secure connection. Think of it like having a secret, coded phone line directly to your Raspberry Pi or other little computer. This special line makes sure that only you can send commands and receive information, which is very important for safety.
One of the most popular ways to make this connection is by using something called SSH, which stands for Secure Shell. It's a method that lets you control a computer over a network, and it keeps everything you send and receive private. Many people use it because it's built into a lot of systems and is generally quite dependable, so it's a good choice.
Before you even think about connecting, your small device, like a Raspberry Pi, needs to be set up to allow these kinds of remote chats. This often means turning on the SSH feature in its settings. It's a step that might seem a little technical at first, but it's usually just a simple flick of a switch or a quick command, which is actually pretty easy to do.
How Does SSH Help with Raspberry Pi Access?
SSH, or Secure Shell, is a bit like a secret passage for your computer. It lets you get into another computer, like your Raspberry Pi, and use its command line as if you were sitting right in front of it. This is incredibly helpful for remote IoT monitoring because your Raspberry Pi might be tucked away in a corner, or even in another building, and you do not want to keep going to it physically. It's a very clever system, actually.
When you use SSH, all the information that goes back and forth between your computer and the Raspberry Pi is scrambled up. This means that if someone were to try and listen in, they would just hear a bunch of gibberish, not your commands or the data from your IoT sensors. This security feature is a big reason why SSH is such a popular choice for managing remote devices, so it offers good peace of mind.
Beyond just getting access, SSH lets you do almost anything you could do if you were directly connected to the Raspberry Pi with a keyboard and screen. You can check on programs running, look at sensor readings, start or stop services, or even update the software on the Raspberry Pi. It gives you a lot of control from a distance, which is pretty useful for keeping your remote IoT projects running smoothly.
Downloading SSH Tools for Your Computer
To use SSH from your computer, you will need a special program, or client, that can talk the SSH language. The good news is that for many common computer systems, this tool is already built in or is very easy to get. You usually do not need to pay for it, which is a big plus when you are just getting started with remote IoT monitoring.
If you use a Mac or a computer with Ubuntu, or another version of Linux, you are in luck. The SSH client is typically already there, ready to go, right in your computer's terminal program. You just open the terminal, type a simple command, and you are ready to try connecting to your Raspberry Pi. It's a pretty smooth process, actually.
For those who use Windows, you might need to take an extra step. Older versions of Windows did not have SSH built in, but newer ones often do. If yours does not, there are free programs you can download, like PuTTY, that do the job very well. These programs are easy to find with a quick search, and they give you the same ability to connect securely to your remote devices, so it's not a big deal to get them.
Can You Use Raspberry Pi for IoT Projects?
The Raspberry Pi is a tiny computer that is very popular for all sorts of projects, especially those involving the internet of things. It is small, uses little power, and can connect to many different sensors and other bits of hardware. This makes it a really good choice for building things that need to gather information or control things from a distance, like for remote IoT monitoring.
People use Raspberry Pis for everything from home automation systems that turn lights on and off, to weather stations that send data to the internet, to little robots that you can control from your phone. Its ability to connect to the internet and run different kinds of software means it can be the brain for many smart devices. It is a very versatile piece of kit, you know.
What makes the Raspberry Pi even better for these kinds of projects is that there is a huge community of people who use them. This means if you ever get stuck or need an idea, there are many guides and forums where you can find help. It is a very welcoming place for new builders, which is actually quite encouraging for anyone wanting to try their hand at IoT.
Setting Up Your Raspberry Pi with Ubuntu or Other Systems
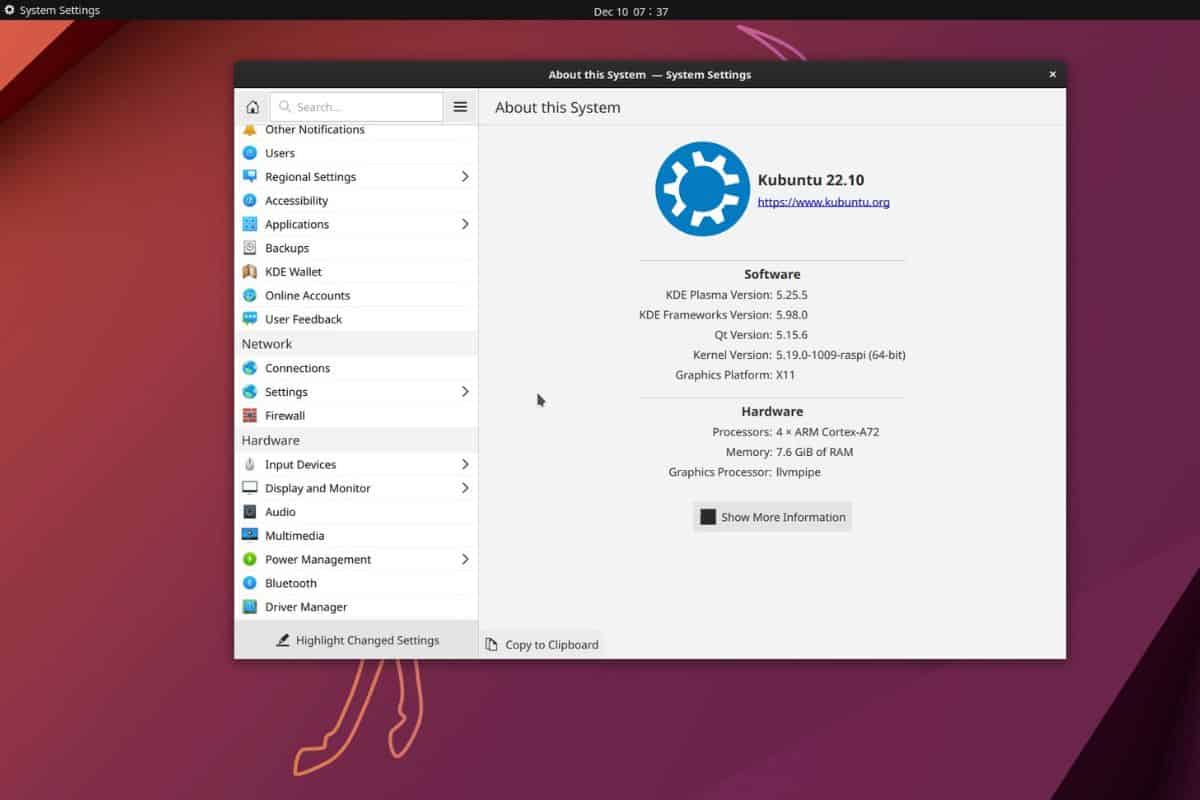
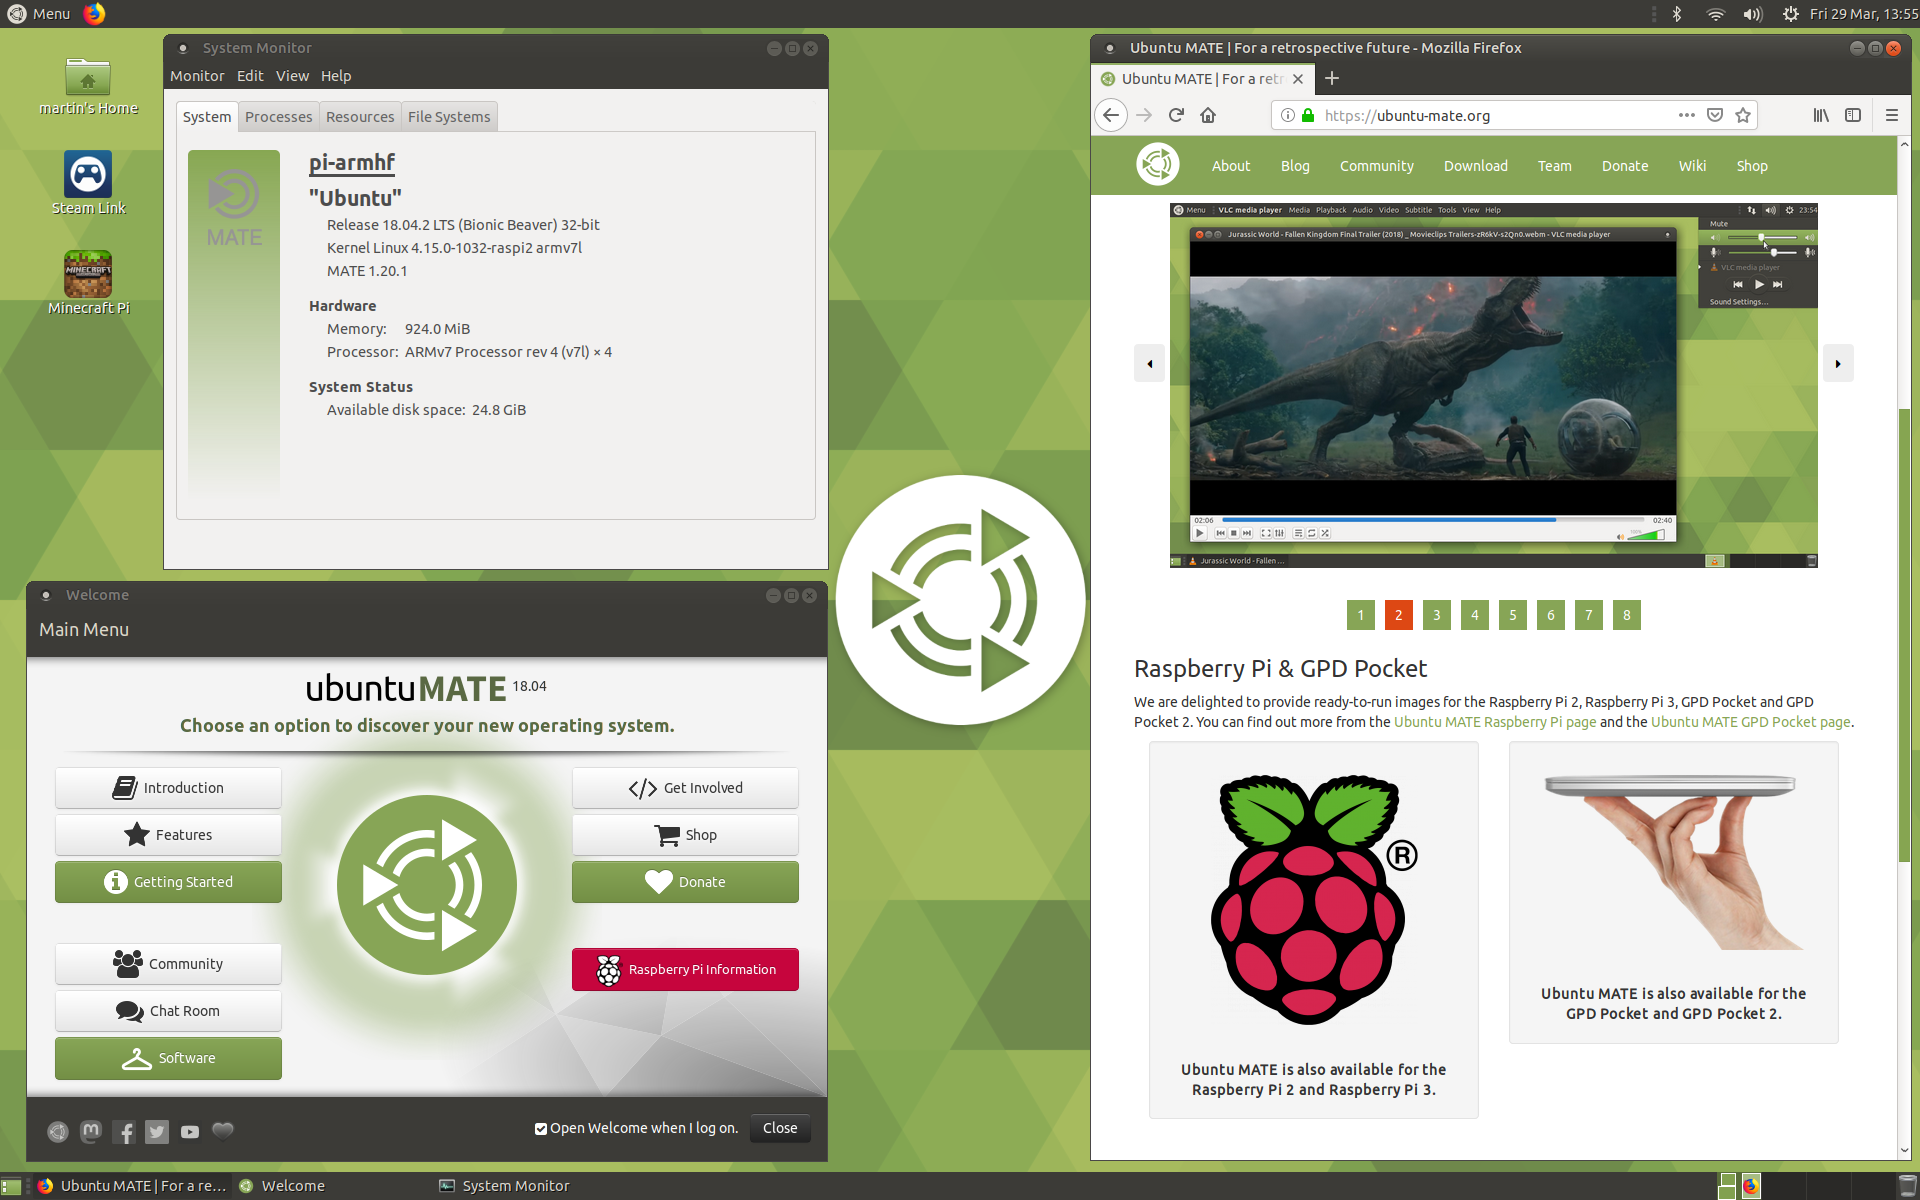
Before you can start remote IoT monitoring with your Raspberry Pi, you need to get an operating system running on it. An operating system is the basic software that makes the computer work, like Windows or macOS on your main computer. For Raspberry Pi, a popular choice is a version of Linux, often Raspberry Pi OS, which is based on Debian, but Ubuntu also has versions made for the Pi, which is pretty cool.
Putting the operating system onto your Raspberry Pi usually involves putting it onto a small memory card, like the kind you use in a camera. You download a special image file of the operating system and then use a simple tool on your computer to copy it onto the memory card. This card then goes into the Raspberry Pi, and when you turn it on, it starts up with that system, so it's not too hard.
Once the operating system is running, you will need to do a few basic setup steps. This includes connecting it to your home network, making sure it can talk to the internet, and most importantly for remote access, turning on the SSH feature. These steps are usually well-documented and can be found in many online guides, which is actually very helpful for getting your remote IoT setup ready.
Is Remote Monitoring Free for Everyone?
A great thing about setting up your own remote IoT monitoring system, especially with a Raspberry Pi, is that much of what you need is available without any cost. The Raspberry Pi itself is a piece of hardware you buy, but the software you run on it and the tools you use to connect to it are often free. This makes it a very budget-friendly way to get into smart home or sensor projects, so it's quite accessible.
For example, the operating systems like Raspberry Pi OS or Ubuntu for the Pi are free to download and use. The SSH client software on your computer, whether it is built into Mac or Ubuntu, or a free download like PuTTY for Windows, also costs nothing. This means you can get a lot of your remote monitoring setup going without spending extra money on software, which is a big benefit.
Of course, if you want to use more advanced features, like cloud services that store all your sensor data or provide fancy dashboards, those might have a cost. But for simply connecting to your Raspberry Pi to check its status, run commands, or get basic data, the core tools are generally free. It means you can start small and expand later if you wish, which is actually a smart way to begin.
Making Remote Monitoring Happen on Mac and Other Computers
Connecting to your remote IoT devices, like a Raspberry Pi, from your main computer is usually a straightforward process, no matter if you use a Mac, a computer running Ubuntu, or even a Windows machine. The basic idea is the same: you use an SSH program to open a secure link to your Raspberry Pi. It is a very consistent method, you know.
On a Mac or an Ubuntu computer, you open the terminal application. This is a text-based window where you type commands. You then type a simple SSH command that includes the username for your Raspberry Pi and its network address. After you type in the password, you are connected. It is a pretty quick way to get access, actually.
For Windows users, if your system does not have SSH built in, you would open the PuTTY program you downloaded. In PuTTY, you just type in the network address of your Raspberry Pi, choose SSH as the connection type, and click connect. It will then ask for your username and password, just like on Mac or Ubuntu. So, you see, getting connected for remote IoT monitoring is quite simple across different computer types, which is a good thing.
Related Resources:

Detail Author:
- Name : Eladio Adams
- Username : constantin.daniel
- Email : ubergstrom@gmail.com
- Birthdate : 1997-02-26
- Address : 6928 Ullrich Meadow Lake Gilbertoshire, WA 75705
- Phone : 848-314-3165
- Company : Smith-Crona
- Job : Watch Repairer
- Bio : Repellendus aliquam ea illum repellendus praesentium optio magnam. Provident odit laudantium animi id sunt. Molestiae amet alias aut nulla dolore enim. Quis odit mollitia qui atque id voluptatem.
Socials
facebook:
- url : https://facebook.com/maximo4715
- username : maximo4715
- bio : Et eos totam tempore repudiandae cum eligendi temporibus qui.
- followers : 6532
- following : 567
instagram:
- url : https://instagram.com/boyle1985
- username : boyle1985
- bio : Aut omnis sit nulla ex. Pariatur qui sed sunt.
- followers : 2994
- following : 1330
linkedin:
- url : https://linkedin.com/in/maximo_boyle
- username : maximo_boyle
- bio : Quae consequatur sed explicabo.
- followers : 404
- following : 1603
tiktok:
- url : https://tiktok.com/@maximo.boyle
- username : maximo.boyle
- bio : Tempora quidem et et est. Voluptates molestiae expedita dolorem et ducimus.
- followers : 3138
- following : 685
twitter:
- url : https://twitter.com/maximo.boyle
- username : maximo.boyle
- bio : Aliquid quidem et voluptas dicta totam nobis veritatis. Quaerat voluptatem eligendi possimus ex quos.
- followers : 1252
- following : 1000
